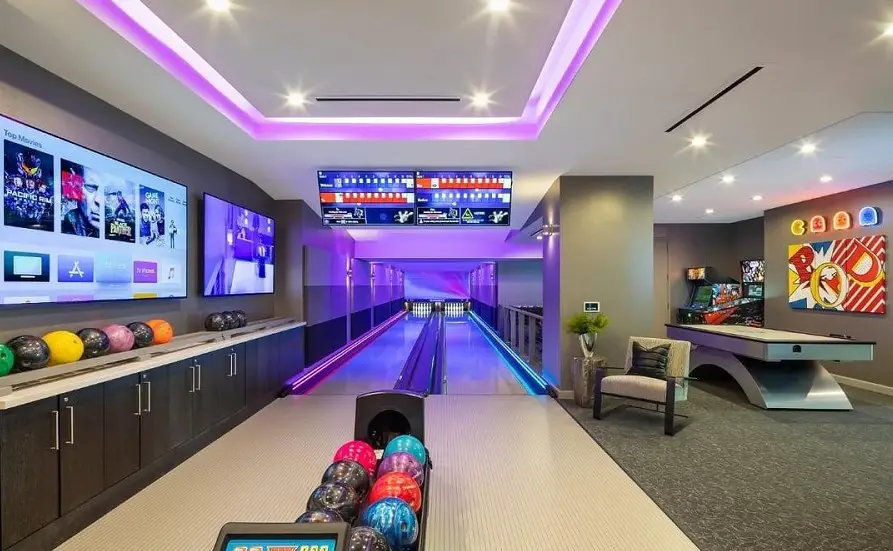
Have you ever thought of a home bowling alley? Do you have a big basement in your home? If both answers are “yes”, the good news is that you can create your amazing bowling lane just by modernizing your basement!
In this article, we will share some smart ideas on how to build a bowling lane in your basement.
Contents
How to build a bowling lane in your basement?
Bowling is not only a good sport to train your body, but also to relax and have a good time with your friends and neighbors. That’s why the idea of having a home bowling lane is so popular.
Making a DIY bowling lane is not a sophisticated task. All that you need is to make the correct measurements and get the right tools and materials. We are going to answer all your questions about building the home bowling lanes.
How much room do you need for a bowling lane?
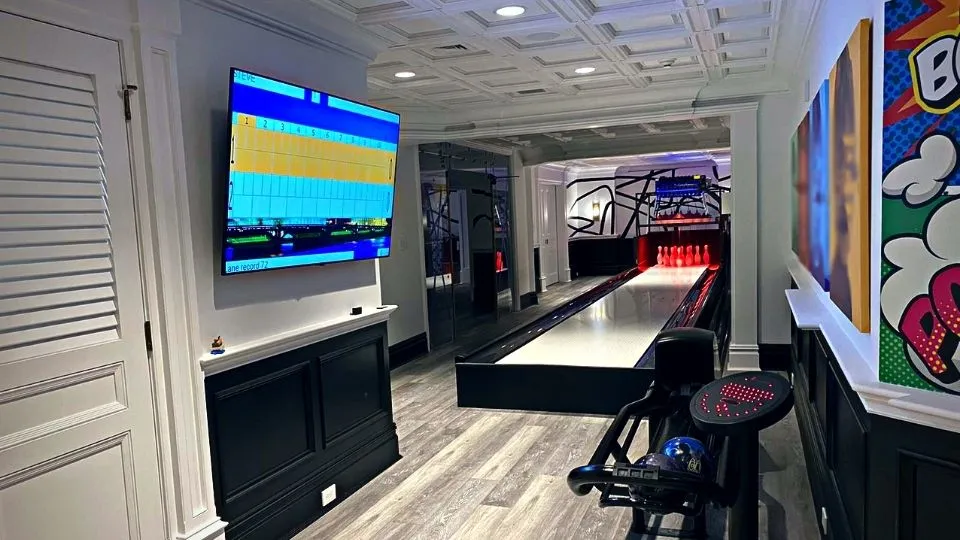
Make sure that your basement has enough space for building a bowling alley. The dimensions can vary depending on your needs and the room you actually have in your basement. However, what is the optimal area requirement for a regulation-size bowling alley?
60 feet is the minimum length for a regulation bowling lane. A good rule of thumb is to add 1 or 2 extra feet for the best result.
At least 42 inches is the minimum width for your bowling alley. However, it is also essential to add a few extra inches of clear space.
Make all the necessary measurements in your basement, and mark out the working area with a help of chalk or painter’s tape.
If you have enough room to build a bowling alley including some extra features, consider the room for these. Don’t forget about the automated service machine zone that is placed at the back of the bowling lane. This area includes extra sections such as pinsetters, rollers, pits, and other elements. In this case, the whole length requirement should be about 86-100 feet.
In case you are too short on space, you would better opt for a mini-bowling alley. Cut out for smaller dimensions, keeping the proportions, though. Accommodate the basic length and width requirements for your private bowling alley!
Don’t forget to size your lane, gutters, and pin housing up to the size of the bowling equipment you are going to use. That’s why a good rule of thumb is to use mini-balls and pins in home bowling alleys.
What do you need for a home bowling alley?
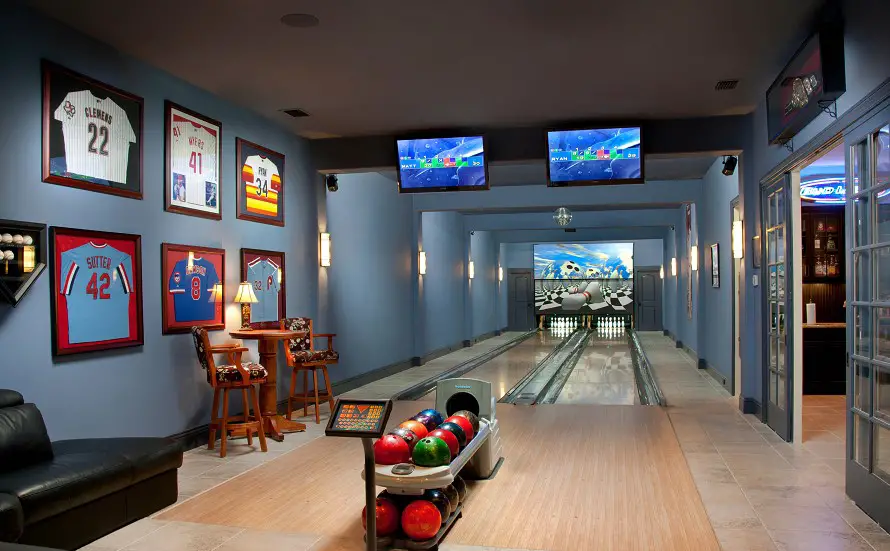
Before you start a DIY project, you need to get a full list of the materials and tools. Along with all the essential items, you can also make use of some extra decorative elements.
Here is the list of basic items for building a DIY bowling lane:
- Wood – choose the right type of wood for a home bowling alley that looks like an original one. Pinewood or maple wood is the best, as the original bowling alleys are made of them. You require 8 sheets of plywood and 14 pieces of 2x4s for framing.
- Saw – cut your wood up to the chosen size if you haven’t done it yet.
- Sandpaper or other sanding tools – after you cut the plywood sheets to the proper size, you need to smooth their rough edges and the flooring surface.
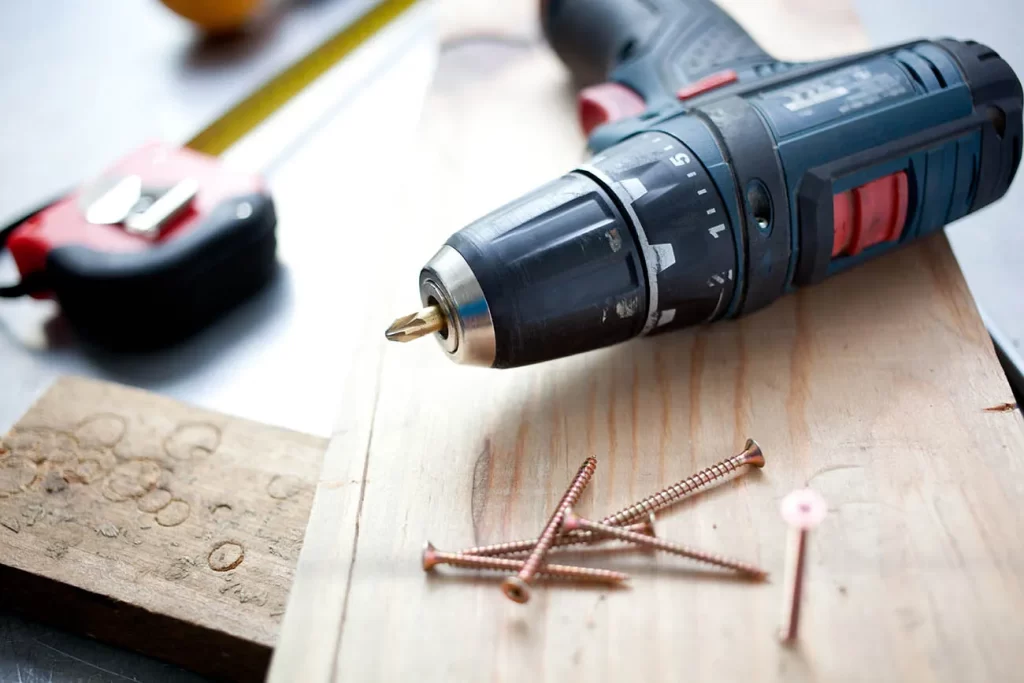
- Power drill – use it to fix the wooden elements of the bowling construction.
- Screws and pins – count how much of these you need to fix all the necessary details.
- PVC pipes – a good idea is to utilize these as your gutters.
- Mini bowling balls – for a private bowling alley, get mini bowling balls and pins. They can fit the smaller playing area best unless you have a super large basement and dream about the full bowling experience.
- Bowling wax or oil – to play smoothly and happily, cover the playing area with bowling oil or wax.
- Leveler – you need it to check if your bowling alley is level.
- LED lighting – you can’t enjoy a game without proper lighting!
- Protective gear – be on the safe side with eye protection, ear protection, and tight-fitting clothing.
Along with the basic materials and tools, you can need some more for extra options. Here are just some of them:
- Laminate flooring – some bowling enthusiasts prefer it installed. However, this point is optional and you can skip it.
- Paint and primer – one more optional point in case you are going to paint some parts of your DIY bowling lane.
How much does a home bowling alley cost?
When planning a DIY bowling lane, the total price is one of the most essential points.
A bowling alley is not cheap, but a worthwhile investment.
In general, the whole project may cost around $120,000 – $195,000. This sum depends on extra features and customizations, so always estimate your project before you start it.
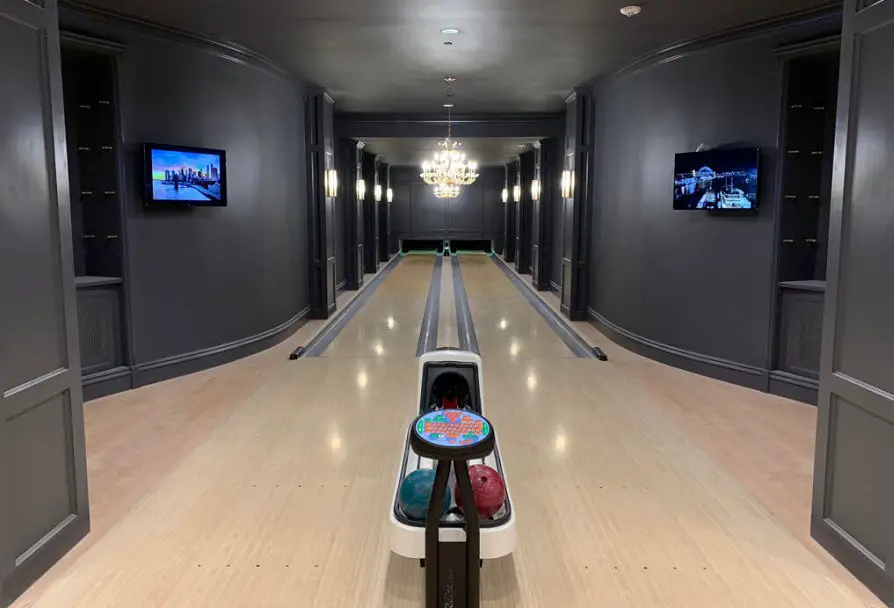
7 easy steps to build a private bowling alley
#1. Gather all the materials and tools
Before you start, double-check your list of all the necessary items. Make sure you have everything you require for your DIY project.
Note that you require a basic list of tools only for a standard bowling alley. If your plan includes some extra features such as a ball return or pin-setting system, you need to obtain some extra materials and tools.
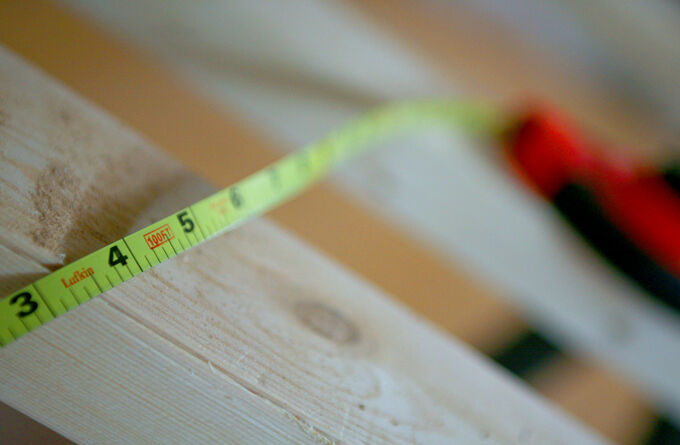
#2. Prepare the wooden elements
If you don’t have the wooden pieces already prepared for the necessary size, do it yourself. Use a table saw and a chop saw to make all the necessary cuts. Don’t forget to wear all your protective gear before you start cutting!
Decide what you are going to use as your bowling alley’s surface.
To get the ball rolling smoothly on the plywood, you need to sand it a lot with sandpaper.
#3. Assemble the bowling lane
As soon as you finish all the necessary cuts, start assembling your bowling alley.
Install the first bottom piece of plywood. It has to be the size of the full playing surface of your bowling lane, including the pinsetter area and the gutters.
Then, frame this piece of plywood by securing 2x4s lengthwise on both sides of it. Keep in mind that you should leave enough area for gutters on both sides!
After that, add two more 2x4s on the far edges of this bottom piece of plywood. Reinforce all the structure along the whole length with more 2x4s secured with screws.
Now, assemble one more piece of plywood on top of the whole structure. It will be the actual bowling area where your ball will roll.
Use a leveler to check if your bowling lane is level.
#4: Smooth the lane’s surface
When the ball rolls, it needs a smooth surface to make its way right. For this, you need to smooth the surface of your bowling alley.
You can both adhere the laminate flooring over the bottom plywood or sand and polish it manually. Make sure that the bottom surface is smooth enough, and move on to the next step.
#5. Assemble the gutters
Proceed with the assembly process by adding gutters. Use multiple screws to put together the bowling alley and gutters.
Keep in mind that the gutters must be large enough to fit the chosen size of a mini bowling ball!
#6. Make the pin station and pinsetter
The pin housing or a pin station is a place where you keep the pins while they are not in use. In other words, it is just a box full of pins at the end of the bowling alley.
Building a pin housing is not difficult. Follow the next steps to manage it:
- Prepare four pieces of plywood for making a box. There must be a front, a back, and two sides of the pun housing. Make sure these pieces are the same height, while the width depends on the size of your pins.
- Assemble the four pieces in a box with a help of screws or nails.
- Take a top piece of plywood and cut a hole in it to let the ball return. This hole should be large enough for your bowling ball to fit and get through freely.
- Use screws to secure the pin station to the lane.
If you aren’t ready to pay so much for a pinsetter machine, use a manual pin setting system. Make sure to leave enough space for a person to move and set the pins after knocking them down, so there will be no risk of injury or damaging the bowling lane.
#7. Add the final touches
Clean and prime your lane, gutters, and pin station.
Then, paint them whatever colors you like.
Add LED lighting to your bowling lane. To illuminate the playing area, install the lights around the lane’s perimeter.

FAQ
Does a bowling alley add value to your home?
If you want to sell your house, a bowling alley will increase its overall value a lot. Unlike other homes, a home with a bowling alley looks much more attractive and special.
Even if you would rather not sell your featured house, it is always a great option to impress your guests!
Can you have a bowling alley installed?
For some bowling enthusiasts, it is much easier to order the bowling alley installation than to fiddle with a DIY project. You can call the professionals that will install the bowling lane for you.
Final thoughts
As you can see, a DIY bowling lane is not a difficult project. It is fun to work on and bring your dream to life.
As soon as you are done, it is high time to invite your friends and neighbors, grab a bowling ball, and enjoy the game!


Good article. Thank you. I have been interested in this topic for a long time, I read and look at various sources of information. Unfortunately, I can’t spend more than $100,000 on this.
But I once saw a video where a guy built a bowling alley in his garden using old palettes! Of course, it does not look as aesthetically pleasing as the designs in this article. But it can help those people who do not want to spend so much money on it or they do not have a suitable basement for this purpose.